1. Install GNS3 all in onepackage. It is straight forward process described in many tutorials and videos available on internet.
2. Install Oracle VM VirtualBox.
3. Download Junos vmdk files (JunOS Olive-disk1.vmdk)
4. Create a VM in VirtualBox using junos vmdk files.
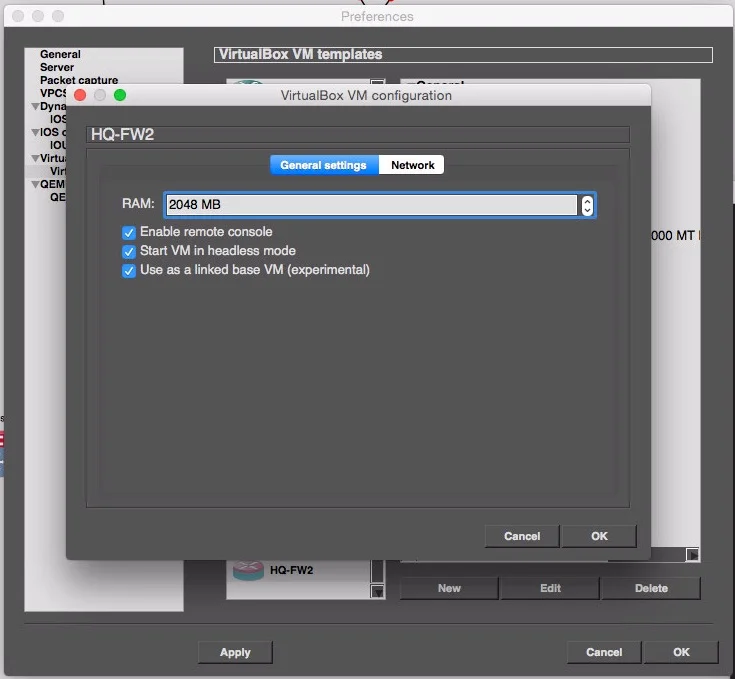
5. Change settings of junosVM as following:
- disable floppy/CD;
- set 'Base Memory' to 512MB;
Juniper vSRX Firefly
- Network Settings: there are 4 adapters, each adapter should be set to as 'Not attached' and Advanced => Adapter Type: Paravirtualized Network;
(** Note - for Junos Model: olive - NIC type has to be Intel PRO/1000 MT Desktop (82540EM) )

Set adapter type in GNS Preferences as well:

if you need to enable more than 4 NICs, you need to enable the other 4 (totally 8 NICs are supported) via command line interface.
So, if your device is already in GNS - you have to remove it:


Once the device is removed from GNS3 completely, we can enable additional interfaces using 'VBoxManage' utility from command line:
Now, lets re-add the device back to GNS3:


Increase a number of interfaces, select type 'Paravirtualized Network' and check 'Allow GNS3 to use ...' option
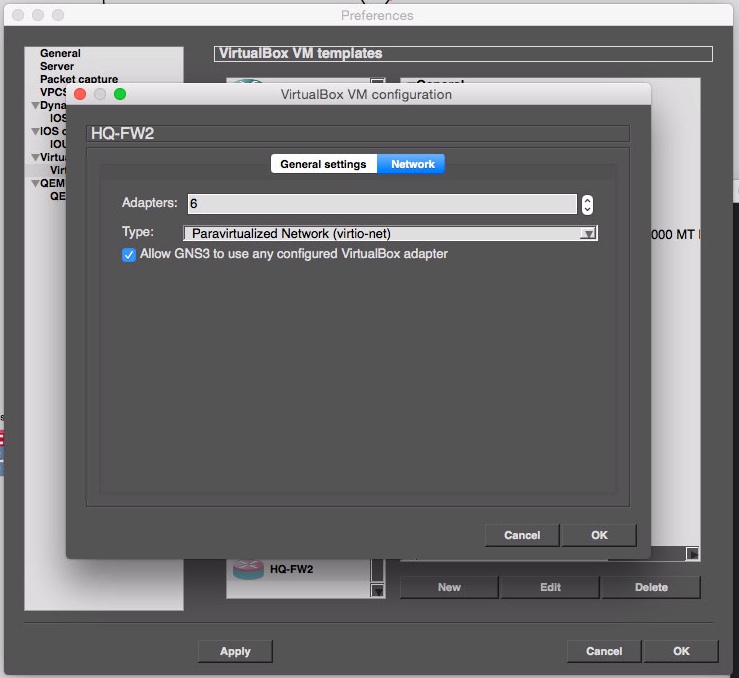
The Virtual Box Gui for our router now has all 6 interfaces:

Ref:
http://stephenfritz.blogspot.com/2015/02/gns3-virtualbox-part-9-adding-more-than.html